
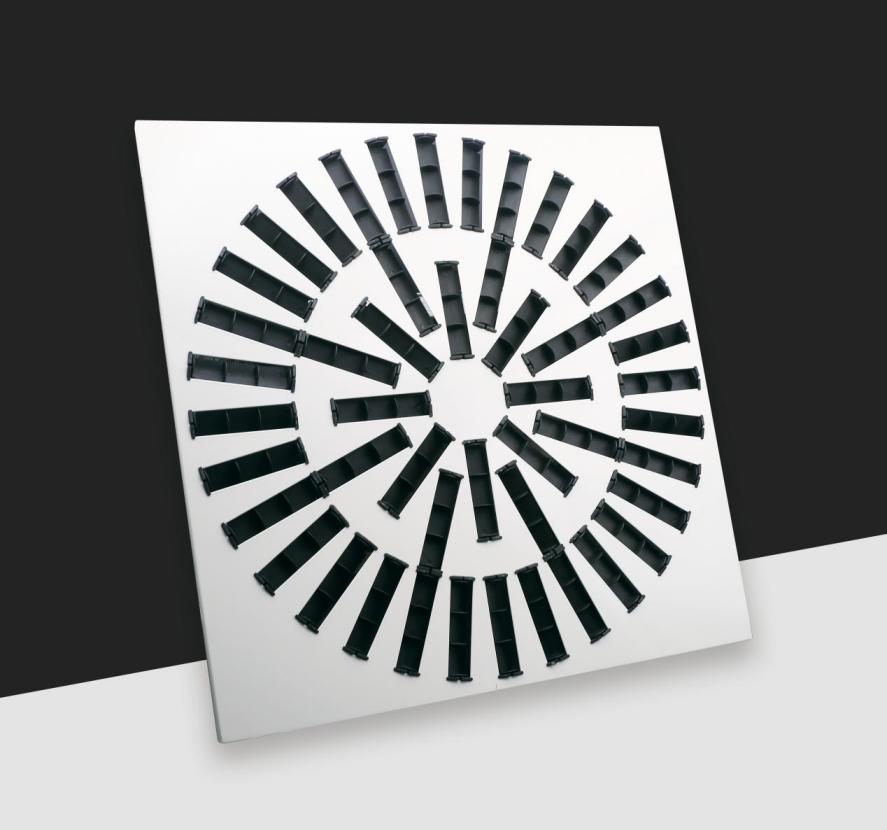
How to Install a Theater Air Diffuser: 6 Steps
Ensuring efficient air distribution and maintaining an optimal environment involves the proper installation of a theater air diffuser, an essential fixture in air conditioning systems. Renowned for its blend of functional performance and aesthetic appeal, the theater air diffuser is prevalent in both commercial and residential settings. This comprehensive guide delves into the six critical steps required to install a theater air diffuser effectively, aiding in the creation of a well-functioning and visually appealing air distribution system.
Step 1: Preparation and Planning
Assess the Installation Area
The initial step in the installation process involves a thorough assessment of the area where the theater air diffuser will be placed. It is vital to ensure that the chosen location facilitates effective air distribution. Begin by measuring the dimensions of the installation site to confirm that the diffuser will fit appropriately. It is essential to consider the available space and check for any obstructions that might impede the diffuser’s functionality.
Select the Appropriate Diffuser Type
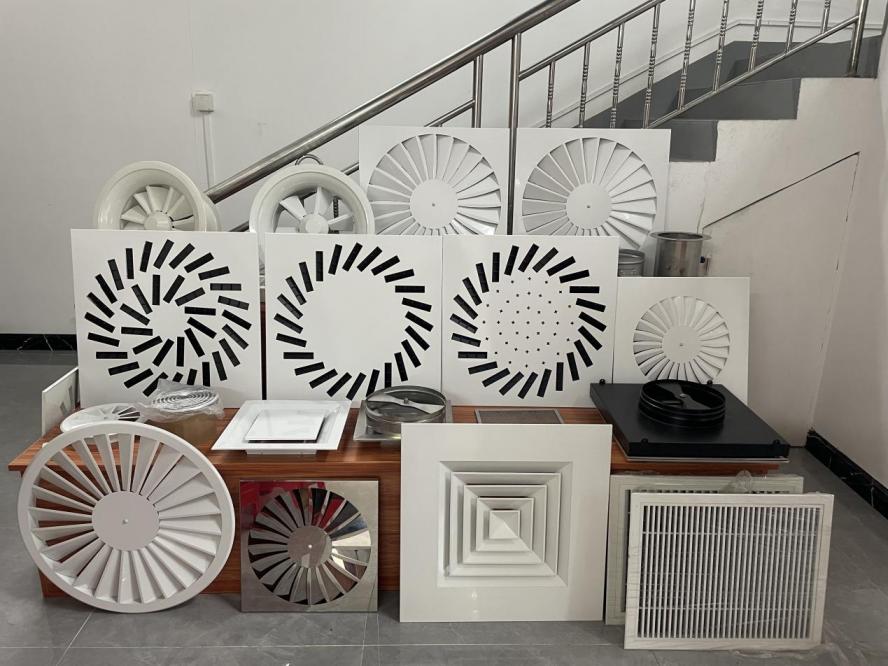
The theater air diffuser is available in various shapes—square, rectangular, circular, and arc—each suited for different applications. Choosing the type that aligns with your space requirements and aesthetic preferences is crucial. Evaluate the ceiling design and the room's overall decor when making your choice. If there is uncertainty regarding which type of diffuser is most suitable, consulting with a professional or a supplier like E-ZONG can provide valuable guidance.
Gather the Necessary Tools and Materials
To facilitate a seamless installation process, collect all necessary tools and materials beforehand. Typically required items include a tape measure, screwdriver, drill, screws, and the diffuser itself. Additionally, having a level at hand will help ensure the diffuser is installed evenly. It is also advisable to review the manufacturer’s installation instructions for any specific tools or materials that might be needed.
Step 2: Turn Off the Power
Safety First
Prior to commencing the installation, it is imperative to turn off the power to the air conditioning system. This precaution helps to prevent electrical hazards and ensures a safe working environment. Locate the main power switch for the HVAC system and deactivate it. Confirm that the power is off by inspecting any nearby controls or indicators.
Confirm Power is Off
To ensure that the power is indeed off, utilize a voltage tester to check for electrical current in the installation area. This step is crucial for avoiding potential electrical shocks or damage during installation. Once it is confirmed that there is no power, proceed with the installation process confidently.
Prepare the Installation Site
With the power turned off, prepare the site for installation by removing any existing covers or components that may obstruct the placement of the theater air diffuser. Clean the area thoroughly to remove any dust or debris that could potentially affect the diffuser’s performance or appearance.
Step 3: Install the Mounting Frame
Position the Mounting Frame
The theater air diffuser typically comes with a mounting frame that must be installed first. Place the frame in the desired location on the ceiling. Use a tape measure to ensure that the frame is centered and aligned correctly with the ceiling grid or intended mounting surface.
Secure the Frame
Once the frame is correctly positioned, secure it in place using screws or other fasteners as provided by the manufacturer. Use a drill to create any necessary holes and ensure that the frame is firmly attached to the ceiling. It is crucial to make sure the frame is level to prevent issues with the diffuser's alignment or air distribution.
Check for Stability
After securing the mounting frame, check its stability by gently pressing on it to confirm that it is firmly attached. If there is any wobbling or movement, tighten the screws or fasteners as necessary. A stable frame is essential for the proper functioning of the theater air diffuser.
Step 4: Attach the Air Diffuser
Position the Diffuser
With the mounting frame securely in place, the next step is to attach the theater air diffuser. Carefully position the diffuser over the frame, ensuring that it aligns with the mounting brackets or clips. Confirm that the diffuser is oriented correctly and fits snugly within the frame.
Secure the Diffuser
Once positioned, secure the diffuser to the frame using screws, clips, or other fasteners as specified by the manufacturer. Follow the installation instructions for the particular type of diffuser being used. Ensure that the diffuser is evenly and securely attached to prevent any gaps or misalignment.
Adjust the Airflow
Most theater air diffusers come equipped with an adjustable air outlet valve, allowing for control and adjustment of the airflow. After attaching the diffuser, adjust the valve to achieve the desired air distribution. Proper adjustment is crucial for ensuring that air is distributed evenly throughout the room.
Step 5: Connect to the Air Duct System
Align the Ductwork
To ensure proper airflow, the theater air diffuser must be connected to the existing air duct system. Align the connection points of the diffuser with the corresponding ductwork. Verify that all connections are properly sealed to prevent air leaks.
Secure the Ductwork
Use duct tape, clamps, or other fasteners to secure the ductwork to the diffuser. Ensure that all connections are tight and secure to prevent air leakage. Properly sealed ductwork is vital for maintaining the efficiency of the air conditioning system.
Check for Leaks
After securing the ductwork, run the air conditioning system and inspect the connections for any air leaks. Address any leaks promptly by tightening the connections or applying additional sealant as needed.
Step 6: Test the System
Turn the Power Back On
With the theater air diffuser installed and connected, the next step is to turn the power back on to the air conditioning system. Locate the main power switch and reactivate it. Confirm that the system is functioning correctly and that the diffuser is distributing air as intended.

Observe the Airflow
Once the system is powered up, observe the airflow from the theater air diffuser. Check that the air is distributed evenly throughout the room and that the diffuser operates quietly. Adjust the airflow settings as necessary to achieve the desired level of comfort.
Final Adjustments and Clean-Up
Make any final adjustments to the airflow settings and clean up the installation area. Ensure that all tools and materials are properly stored and that the site is free of debris. Conduct a final inspection to confirm that the theater air diffuser is securely installed and functioning as intended.
Conclusion
Although installing a theater air diffuser may appear complex, meticulous planning and attention to detail can lead to a successful installation. By following these six steps, one can ensure that the theater air diffuser is installed correctly, providing efficient air distribution and contributing to a comfortable environment. For additional assistance or inquiries, consider consulting a reputable supplier like E-ZONG for expert advice and support. With the right approach, the benefits of a well-installed theater air diffuser will enhance the functionality and aesthetics of your space.
-
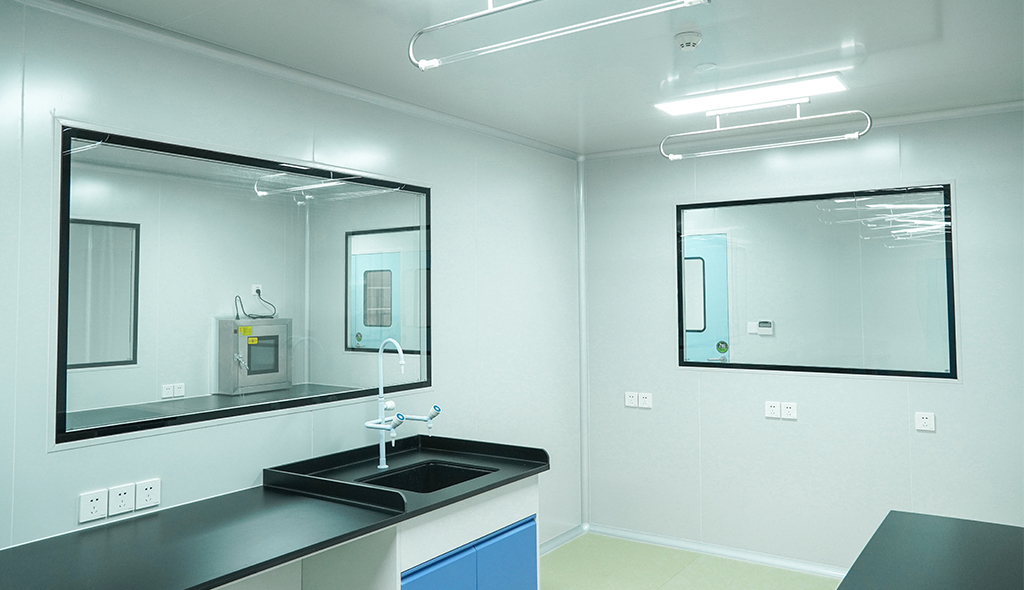 Cleanroom Glass Windows Are The Key to Maintaining a Clean Environment
 -
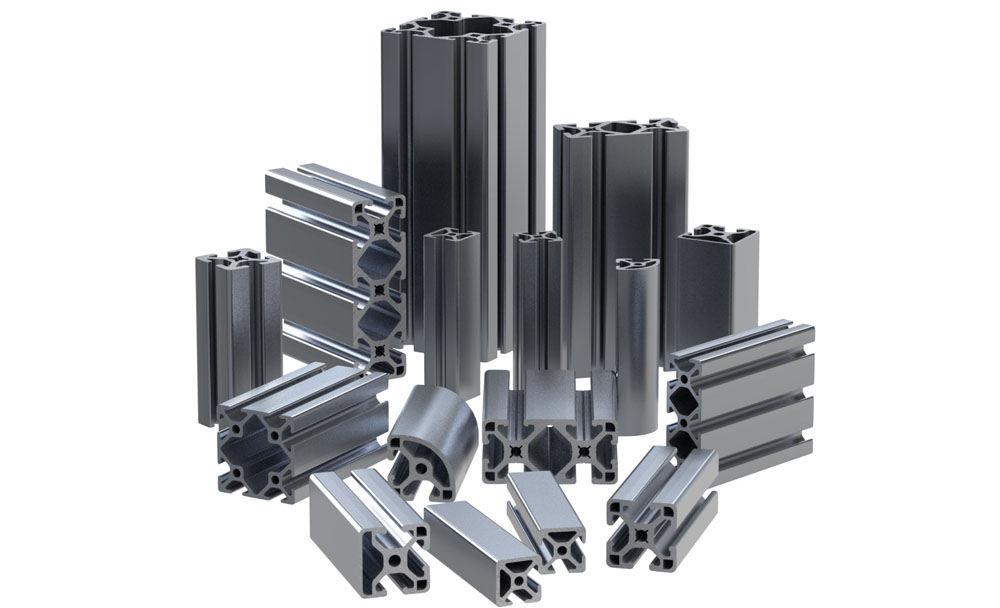
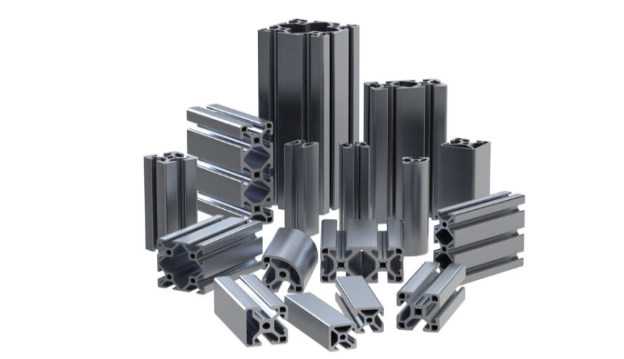
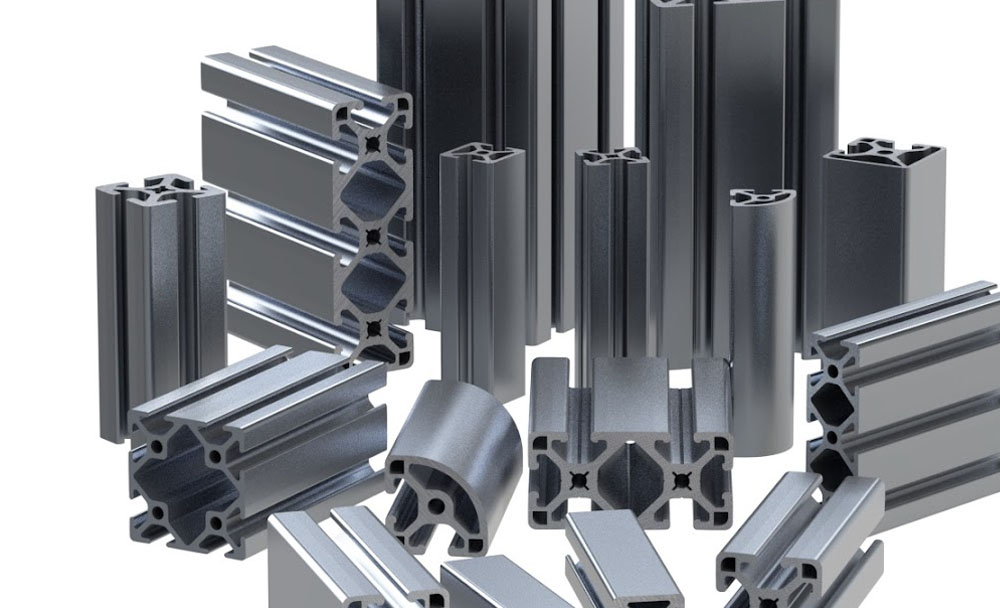 Top Aluminium Profile Manufacturers in China: Leading the Global Market
 -
 The Evolution of Air Tight Sliding Doors
 -
 AHU Aluminium Profile: A Comprehensive Guide
 -
 The Importance of Choosing the Right Cleanroom Door in Vietnam
 -
 The Benefits of Hospital Automatic Doors: Enhancing Efficiency and Safety
 -
.jpg) The Best Bathroom Door Manufacturers - Unlocking Endless Possibilities!
The Best Bathroom Door Manufacturers - Unlocking Endless Possibilities! -
 Unlock the Possibilities with AJ Manufacturing Doors
 -
 Make a Statement with Manufactured Home Interior Doors!
 -
 what is aluminum profile? Aluminum Profiles for Your Home is the best option
-
 Next-Gen Medical Cleanroom Access: Introducing the Cleanroom Steel Door Solution
 -
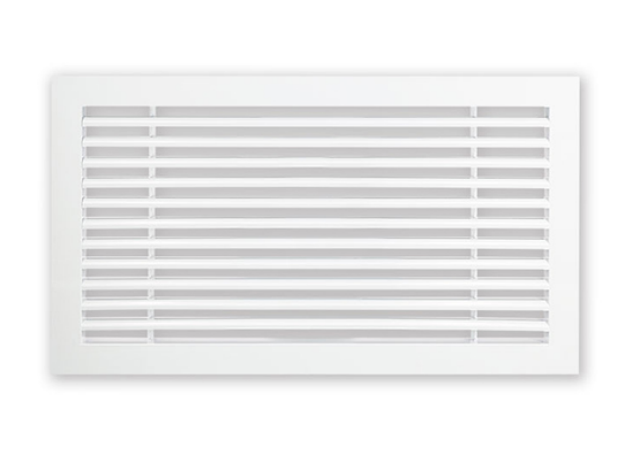 Linear Bar Grille Air Conditioning Diffuser with 0° Angle Blades for Perfect Airflow
 -
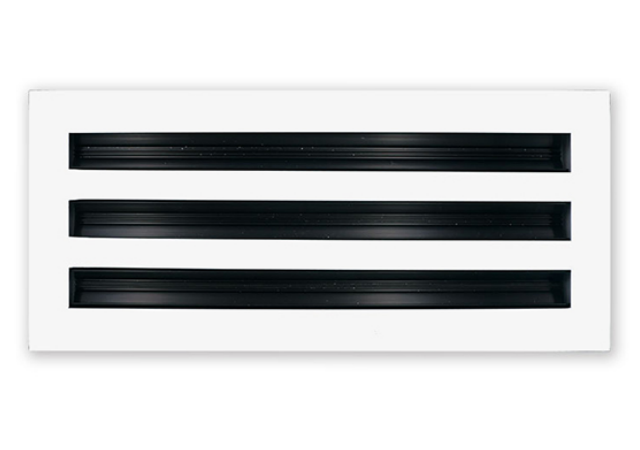 The Sleek and Efficient Linear Slot Diffuser for Air Vent
 -
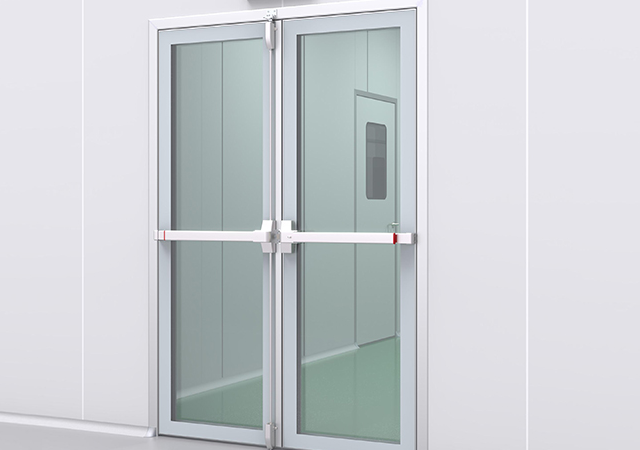 Double-Swing Glass Doors - Modern Laboratory Cleanroom Doors
 -
 Superior Aluminium Glass Swing Door - Pharmaceutical Cleanroom Door
 -
 E-ZONG Leads the Way in China's Medical Lead Protection Doors: Innovation for Safety and Efficiency
 -
 E-ZONG: Leading the Suppliers of Glass Airtight Automatic Doors for Safer, Cleaner Spaces
 -
 How Wall Air-Tight Swing Doors Ensure Clean Environments With Secure & Silent
 -
 Seamless Automatic Cleanroom Sliding Doors: Smooth, Safe, and Hygienic Solutions
 -
 Elegant & Durable: Premium Swing Door Protection for Hospitals


-

Home
-

Tel
-

Email
-

Contact


Guangzhou Yizhong Aluminum Industry Co., Ltd.
We are always providing our customers with reliable products and considerate services.
We are always providing our customers with reliable products and considerate services.
Speak Your Mind